Sonar Mobile: User Guide
Overview
Sonar is Thinaer’s real-time dashboard and provides you with an immediate look at your organization. Your Sonar dashboard displays the data collected through our Beacons and Gateways, showing real-time status of connected Assets.
This guide provides users with detailed knowledge about how to navigate through Sonar and access their real-time data.
Downloading the App
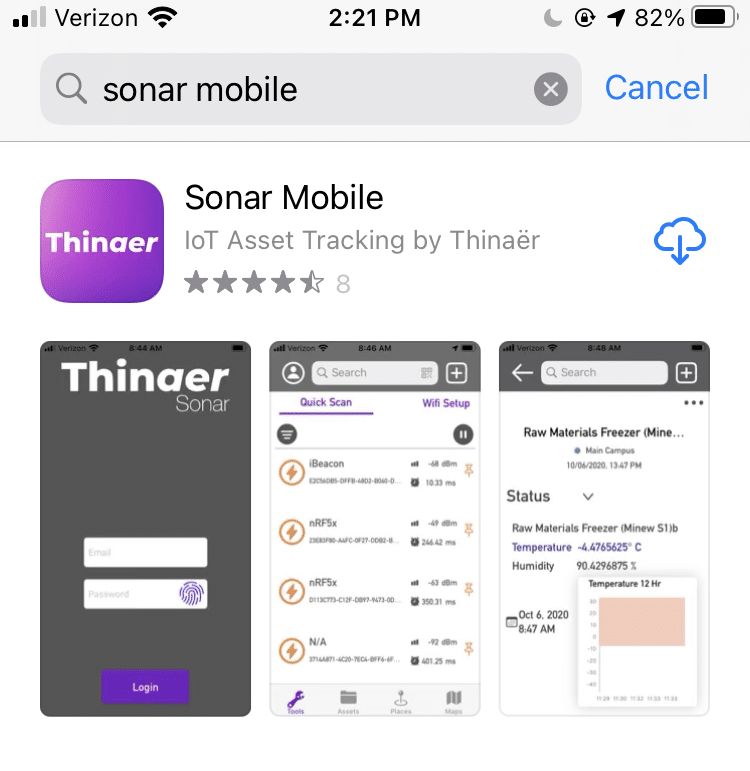
In the Apple App Store, use the search page to find Sonar Mobile. Download the app to start using Sonar.
Logging In
Who has Access
- The application administrator can invite new users by email and can edit user roles.
- Each user will receive an invitation email with a temporary password to sign in.
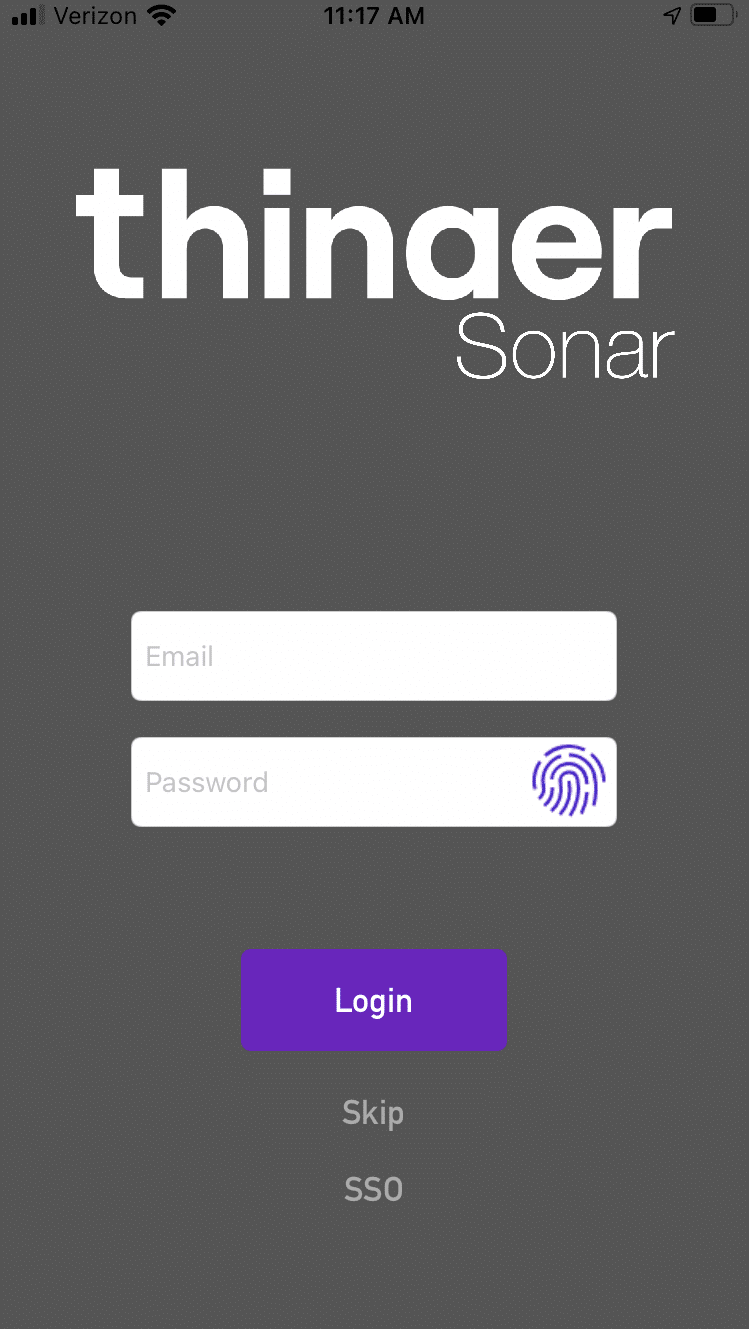
Logging in to Sonar
- From the invitation email, click “Let’s get started” and use the temporary password to log in.
- Do not click on the “Sign Up” button at the bottom of the page.
Home Page
Tabs
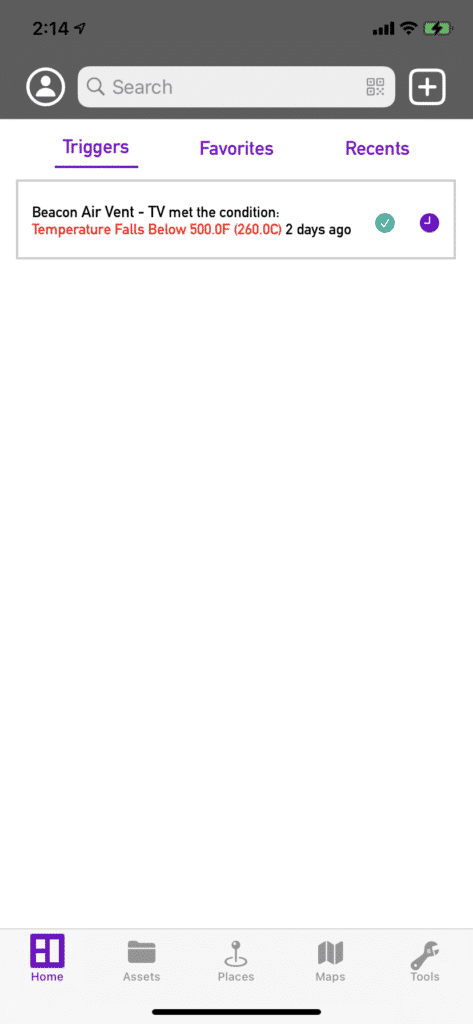
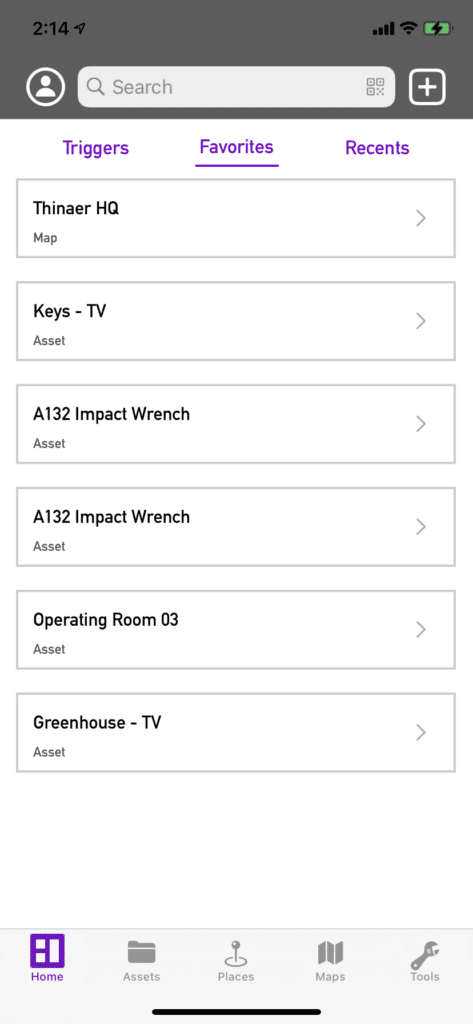
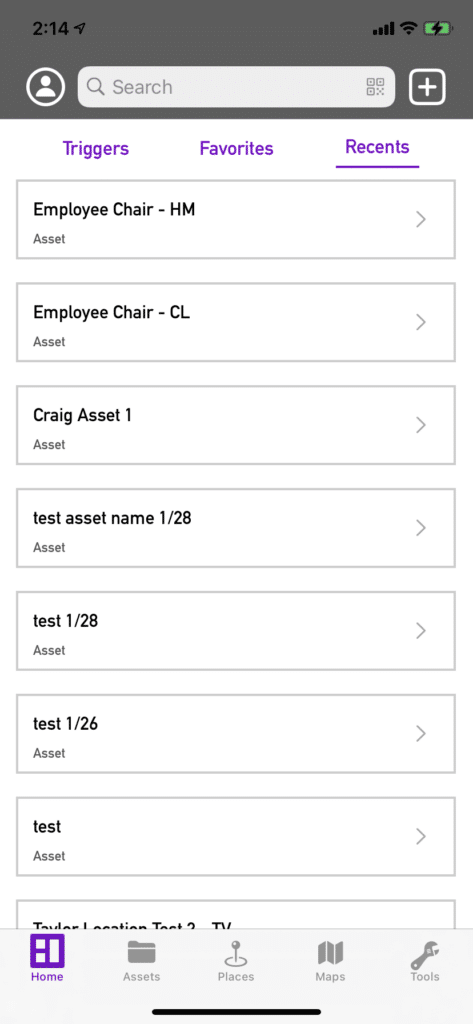
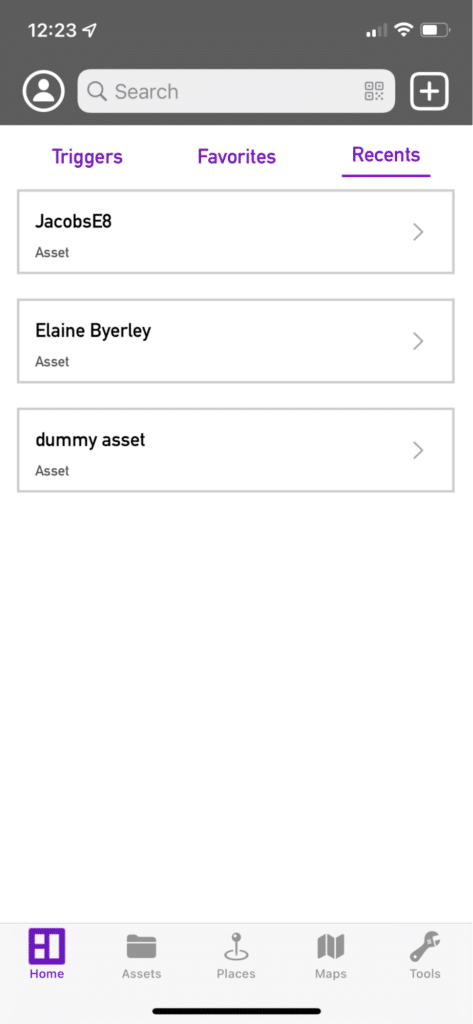
The Home Page shows any Triggers, Favorites, and Recents (recently viewed Assets, Maps, or Places).
Search
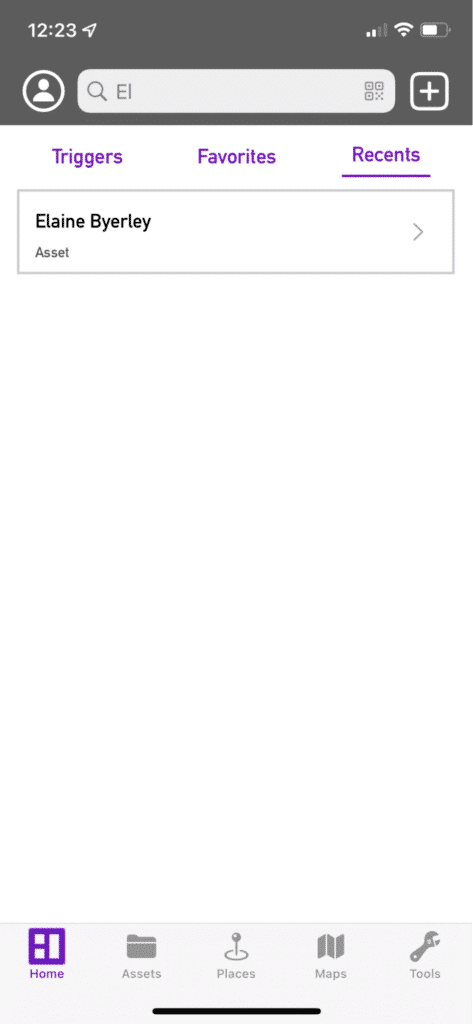
Use the search bar to filter the data on the current tab (Triggers, Favorites, Recents).
Assets
Asset Page
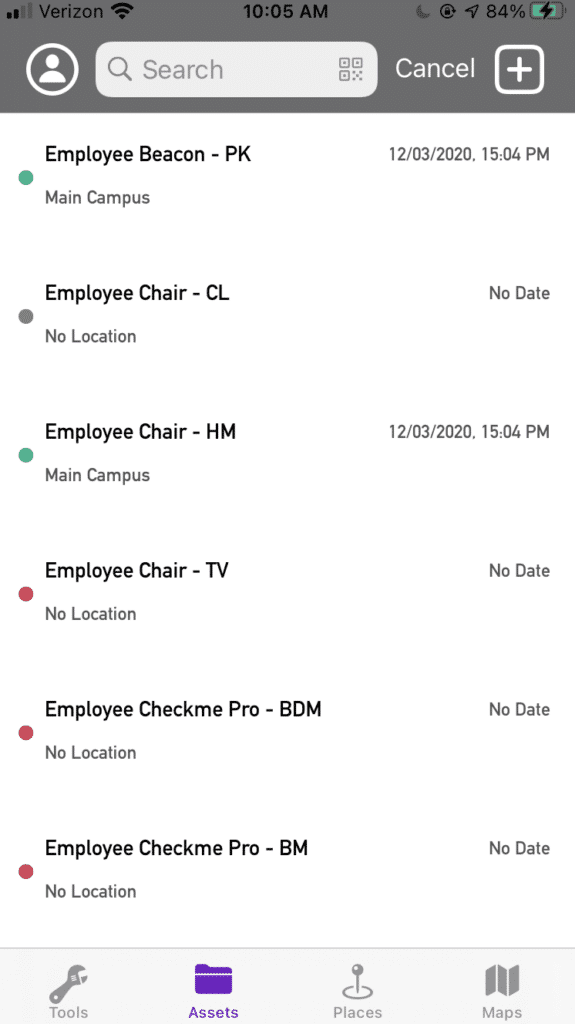
Asset Page shows all of your created Assets and their overview details.
Asset Details
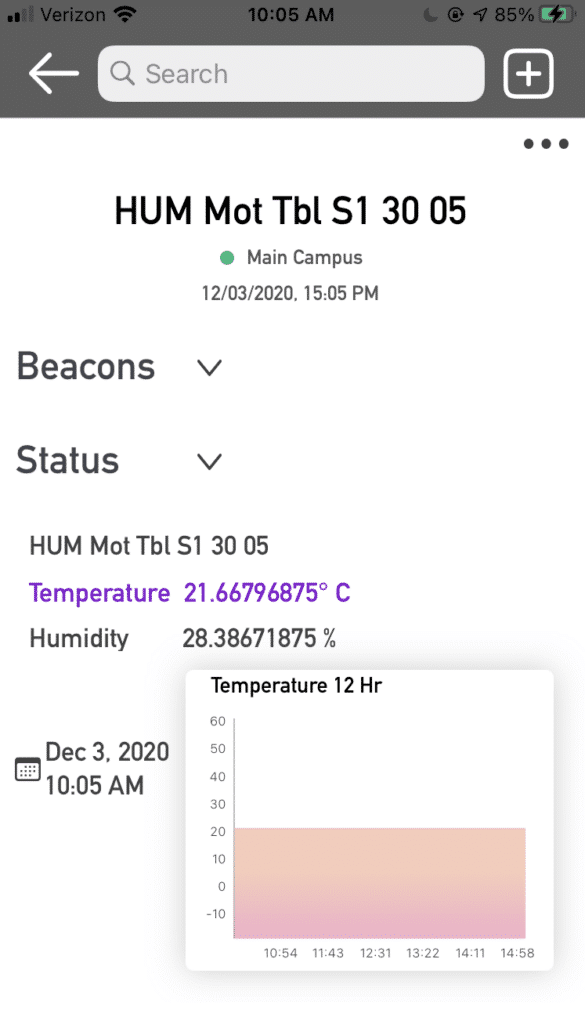
To view Asset details and all connected Beacons, select an Asset from the Asset page.
- Beacons: View all Beacons connected with your Asset under the Beacons section.
- Status: Status will show any applicable readings from your connected Beacons.
- Keywords: Keywords are used to group your Assets and Places into logical groups. Find all Keywords connected to your Asset in this section.
Favorite
Favoriting is a way to identify your most frequently viewed Assets, Devices, or Places. Click the Star icon on the Asset page to save as your Favorite.
Adding an Asset
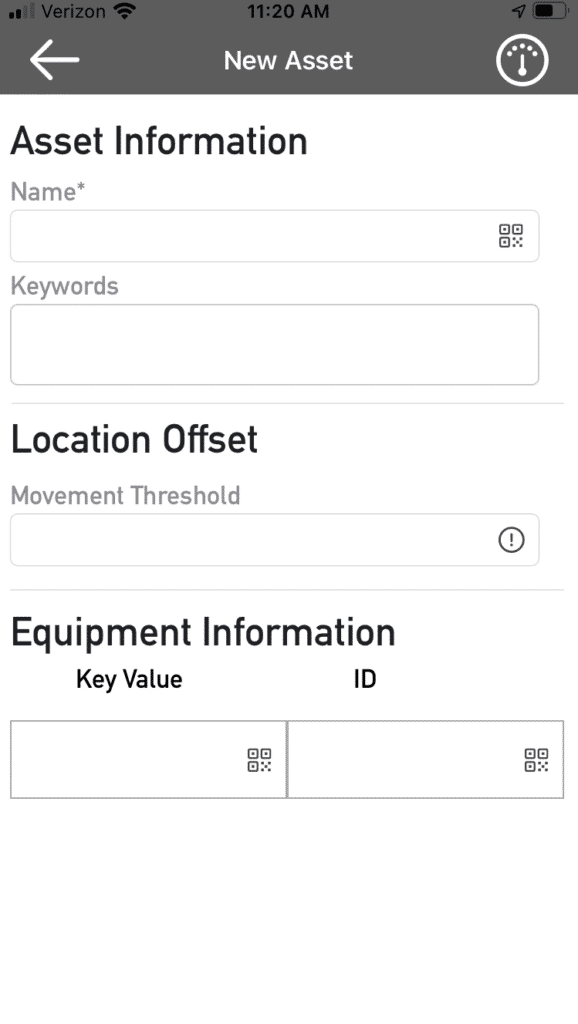
Create a new Asset by clicking the plus icon in the top right corner of the screen and selecting Asset.
- Fill out Asset Name and Keywords.
- Enter any applicable Equipment Information by typing in or scanning equipment values and IDs.
- Press Next.
- Confirm your new Asset.
- To add a Beacon to this Asset, go through the “Add Beacon” workflow by clicking the plus icon in the top right corner of the screen, OR go to the Asset’s details page and click the plus sign in the bottom right corner of the page.
Places
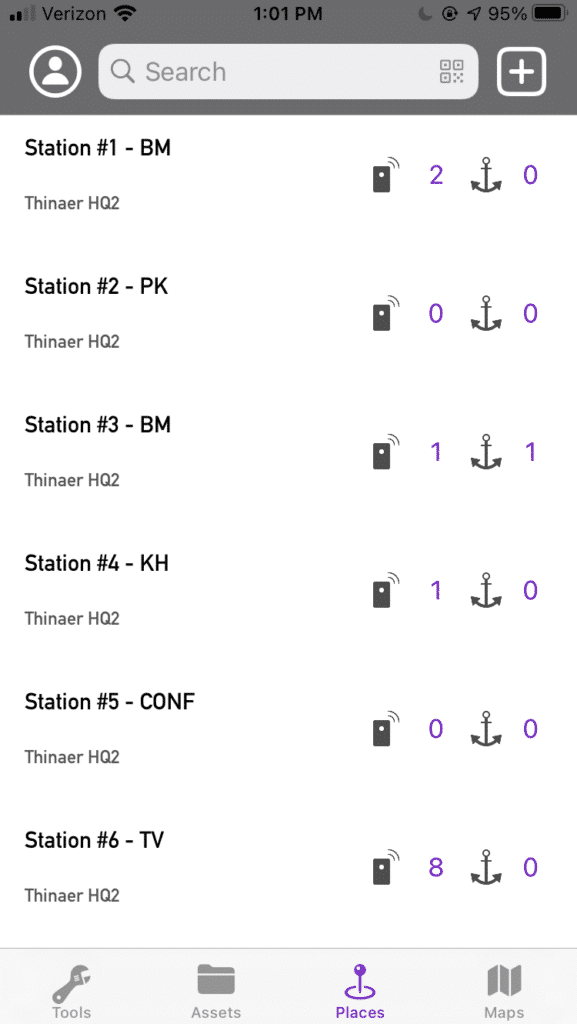
Places are zones or areas that are setup on your Maps to help you identify where your Assets are. Use the Places Tab, found on the bottom navigation, to get a quick glimpse into how many Stationary Beacons and Assets are located in each Place.
Viewing Places
- From the Places page, select a Place you would like to view.
- Toggle between What’s here, Stationary Beacons, and Keywords.
Maps
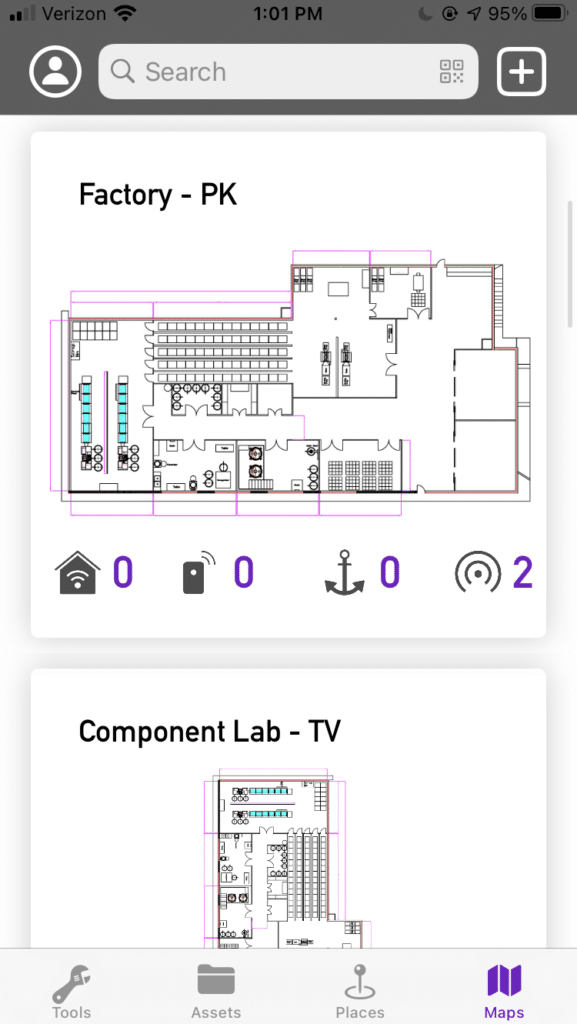
The Maps landing page provides an at-a-glance view of all of the maps where you are tracking and monitoring your Assets.
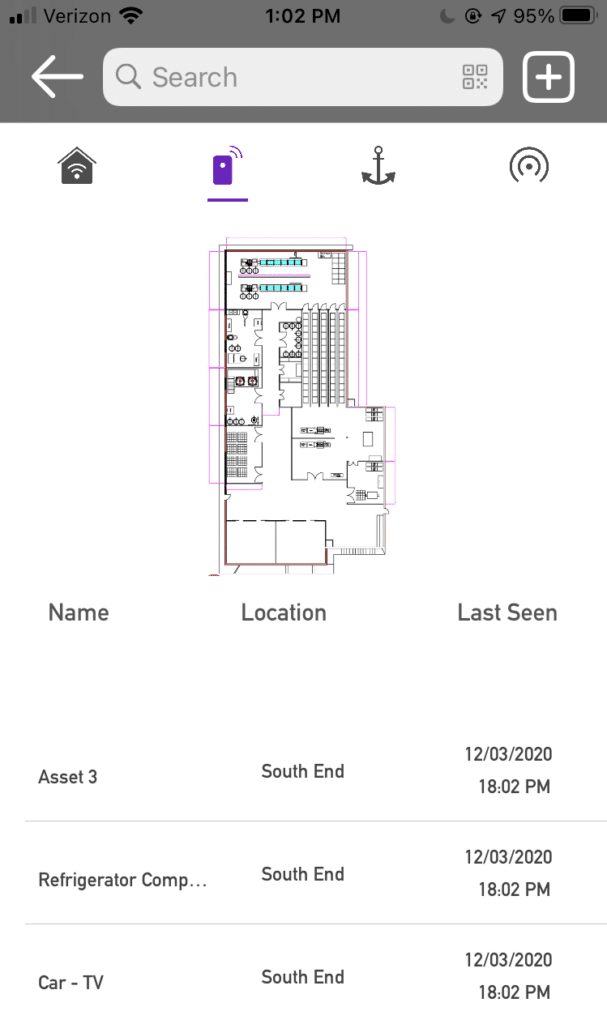
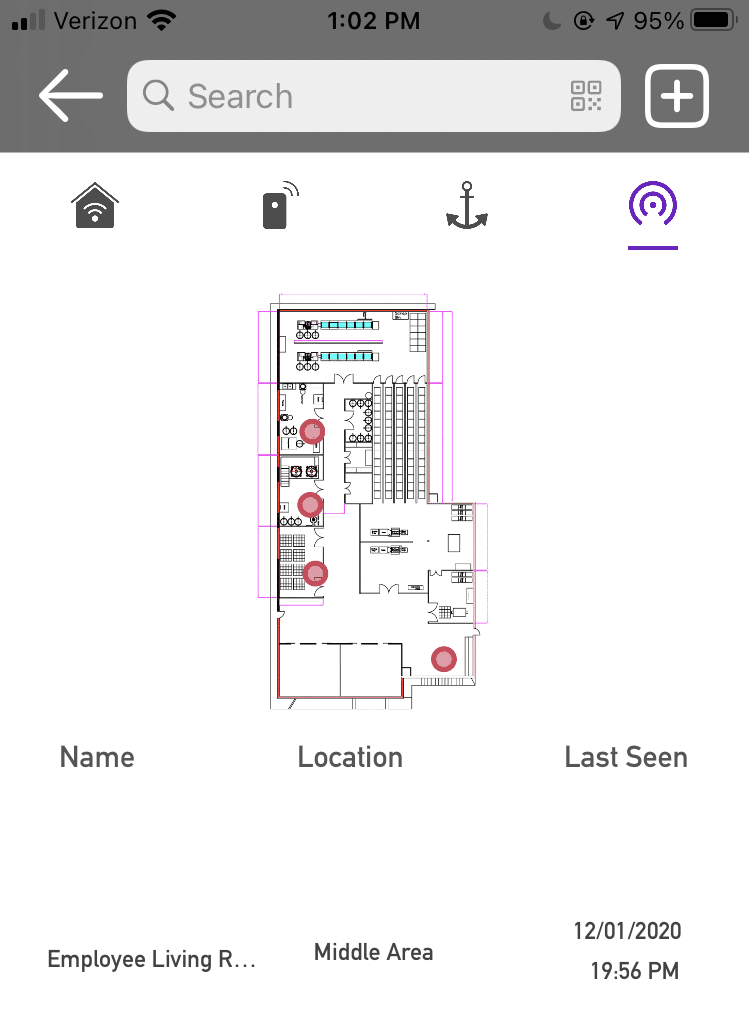
Viewing Maps
- Select the Map you would like to view.
- Use the icon bar to toggle between Places, Assets, Stationary Beacons, and Gateway tabs.
Beacon Upload
Adding New Beacons
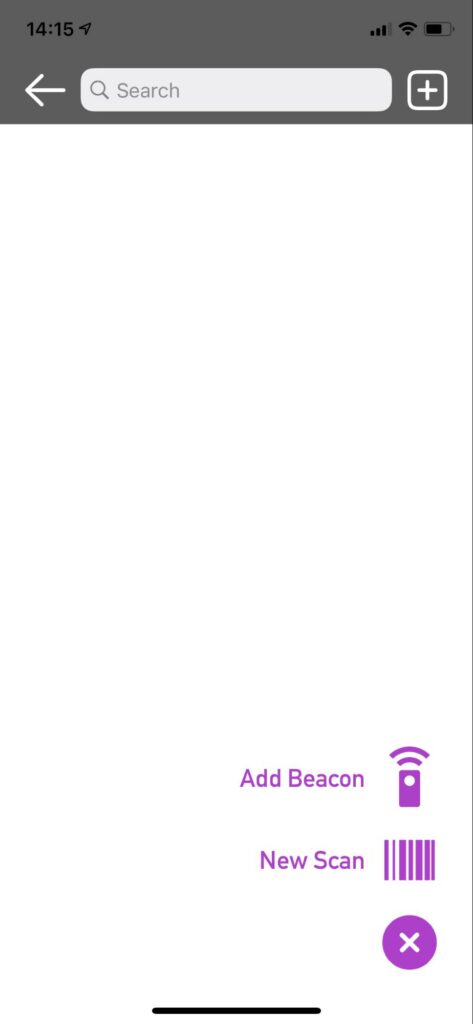
To add a Beacon, locate the plus button in the top right corner of your screen and select Beacon.
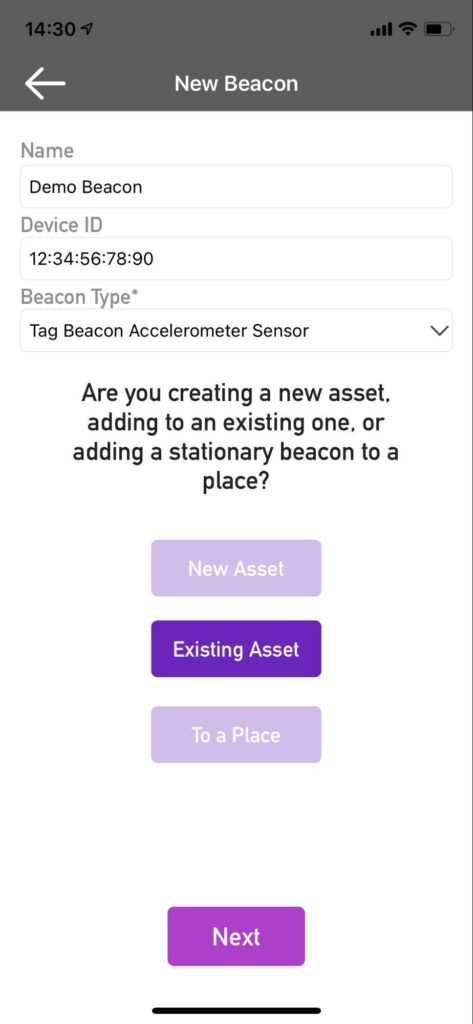
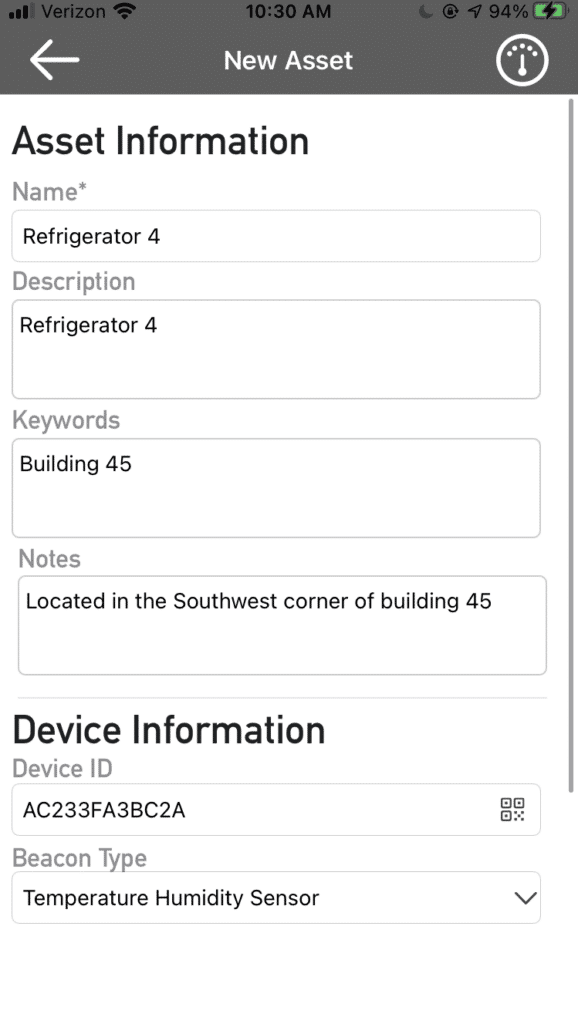
- Name the Beacon, add the Device ID manually or through scanning the QR Code, and select the Beacon Type.
- Choose to add your Beacon to a New Asset, Existing Asset, or To a Place and press Next.
- New Asset
- Name the Asset, provide a Description, add any Keywords and Notes and press Next.
- Determine the Location Offset and enter any applicable Equipment Information by typing in or scanning equipment values and IDs. Press Next.
- Confirm the new Asset.
- Existing Asset
- Use Search to find the Asset you would like to connect with your Beacon.
- Press Next and confirm your new selection.
- To a Place
- Use Search to find the Place you would like to connect with your Beacon.
- Press Next and confirm your new selection.
- New Asset
Device Management
Viewing Beacons
To view all of your Beacons, click on your profile image in the top left corner of the screen.
- Click on the Devices menu item.
- Activate the Beacons Tab in the top left of the screen.
- Sort and Search for your Beacons to see their status and the last check in time.
- Optional: Swipe to the left of your screen on a Beacon to add your existing beacon to a Place, Existing Asset or New Asset.
Viewing Gateways
To view all of your Gateways, click on your profile image in the top left corner of the screen.
- Click on the Devices menu item.
- Activate the Gateways Tab in the top left of the screen.
- Sort and Search for your Gateways to see their status and the last check in time.
- Optional: Swipe to the left of your screen on a Gateway to view its Place.
Quick Scan
Use the Quick Scan Feature to quickly upload and scan multiple devices to one asset at one time.
Create an Asset with Quick Scan
- Create a new Asset by clicking the plus icon in the top right corner of the screen.
- Fill out Asset Name and click Next.
- Move your camera over the Beacons to start scanning.
- Bulk configure your beacon values by clicking on the Settings/Cog icon in the top left.
- On the Summary Page, confirm your upload.
- Go to the Asset details page to add or edit information.
Tools
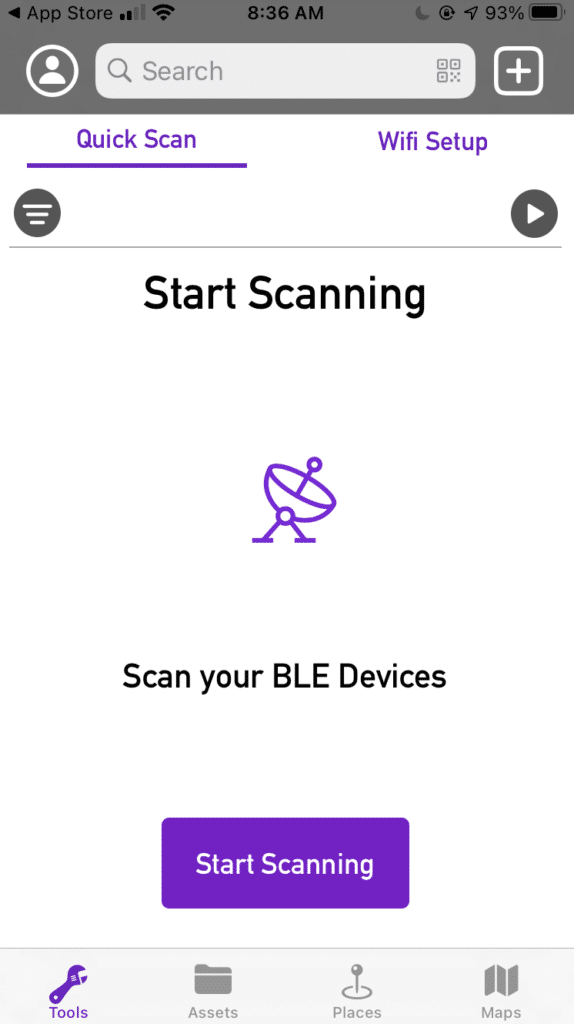
The Tools allows you to immediately start scanning your BLE Devices. To start viewing your Devices, select the “Start Scanning” button.
Quick Scan
- From the Quick Scan tab, find all the nearest BLE Devices.
- Click on the Filter icon in the top left of the screen to adjust the RSSI (signal strength). Hint: the lower the RSSI, the closer the devices will need to be in order to be recognized.
Wifi Setup
Wifi Configuration
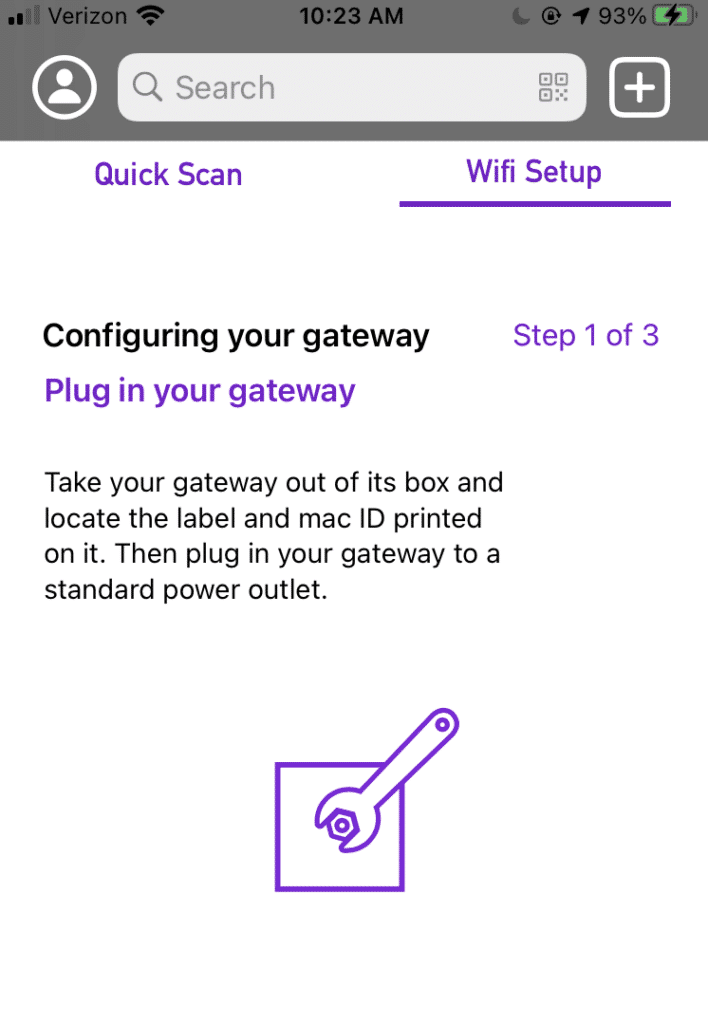
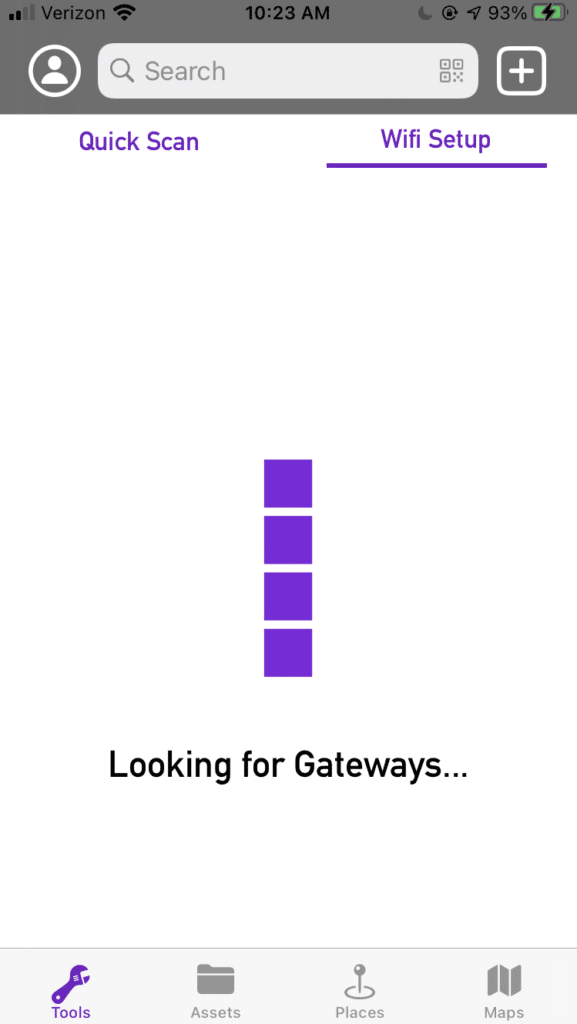
- Follow the on screen instructions to configure your Gateways. After you complete each action, select the Next button to continue.
- Complete the action and select the Next button to move to the Next step.
Env Configuration
- Use this step with caution! This is an advanced step. You could permanently lose connection to the Gateway. An example use case for this is to move a Gateway from the Test environment to Production.
- Select the environment that you want to point your Gateway to. Click Continue. Continue following the on screen directions and clicking Next or Continue at the end of steps.
Pro Tip: To ensure your Assets are easy to find, it is critical to assign a logical naming convention to them. To learn more about how to do this, visit our “Setting Up Assets” user guide.
Contact Support
Email our team to get additional help or support.
Return to Help Center
Go back to the Thinaer Help Center for additional help.

